**If I wanted to purchase this today, I wouldn't... unfortunately, LapTop lunches are made from plastic :( I would, instead, purchase the stainless steel PlanetBox.
Soooo... you can imagine my excitement (and my kids excitement) when on Thursday, one of my favorite blogs to drool over-- The Cupcake Project-- posted a recipe for Homemade Ritz Crackers!!!!!! Obviously, we made them...
Plastic-Free Ritz Crackers
2 c all-purpose flour
3 tsp baking powder
1 TBSP sugar
1/2 tsp salt
6 TBSP cold unsalted butter, cut in pats
2 TBSP vegetable oil (I buy my veg. oil in bulk)
2/3 c water
Topping:
1/2 tsp salt
3 TBSP unsalted butter, melted
- Preheat oven to 400 F.
- Put the flour, baking powder, sugar, and 1/2 tsp of salt in the food processor and pulse to combine.
- Add cold butter, pulse to combine.
- Add vegetable oil. Pulse to combine.
- Add water a bit at a time. Pulse, until the dough begins to form a ball.
- Roll dough out as thin as you can. The thinner they are the more crisp and cracker like they are.
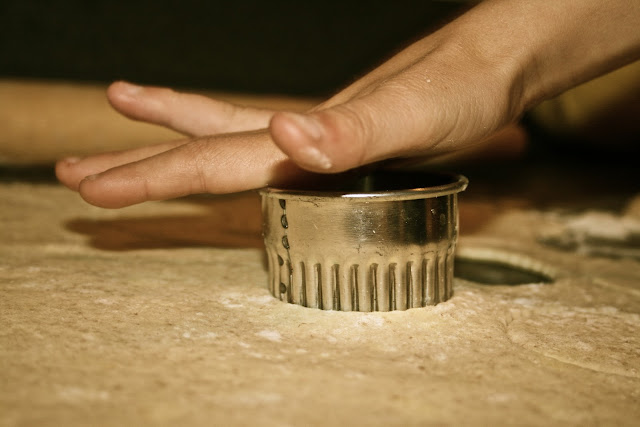
- Use cookie cutters (or a ruler and knife) to cut the dough out. Make whatever shape you like.
8. Poke holes in the dough. We used a fork.
9. Bake the crackers for 10 minutes or until golden in color. <-- I baked mine a bit longer to get them more golden and crisper. (The Cupcake Project recommends using parchment or Silpat lined baking sheets... and I did a batch with and without... I like the coloring that the crackers get when baked on an unlined baking sheet. Don't worry about greasing the baking sheet, the crackers don't stick ;) )
10. As soon as the crackers are done baking brush them with the butter and salt. NOTE: I wasn't sure about how the crackers would store if I brushed the butter on them after baking... so I brushed the cracker dough with the butter and sprinkled on the salt BEFORE I popped them in the oven.
11. Let the crackers cool... then store in an airtight container...


Sweet! Glad you liked them! I hadn't tried them not on parchment. Good to know that it works well that way.
ReplyDeleteThese look amazing... Can't wait to try them!
ReplyDeleteThose look great! I'm excited to try this! Lunchables are the most over-processed lunches ever made. The meats are like gelatin blobs. Ick! These homemade crackers would be great with dips for a snack! I can't tell you how excited I am to attempt these! Thanks!
ReplyDeleteWow! These look so delicious that I'm going to have to give them a try!!! Thanks so much for sharing! Your blog is so inspirational! Thank you for all that you do!
ReplyDeleteI love the recipes you include!
ReplyDeleteI have a question before I try this one though - in between the sugar and butter, there's a line that just says "1/2 tsp". Is there an additional ingredient?
Hey!! Apparently, I didn't get the "notifications" for this blogpost comments! (strange)
ReplyDeleteSo happy that everyone wants to make these.. they are SO very yummy :)
Margaret, yes... that ingredient would be salt! Yikes! Thanks for catching that!!